Understanding Takeoff in Stimaro
This article explains how takeoff works in Stimaro — from importing a plan PDF, to measuring quantities on the drawings, to sending those quantities into your estimate.
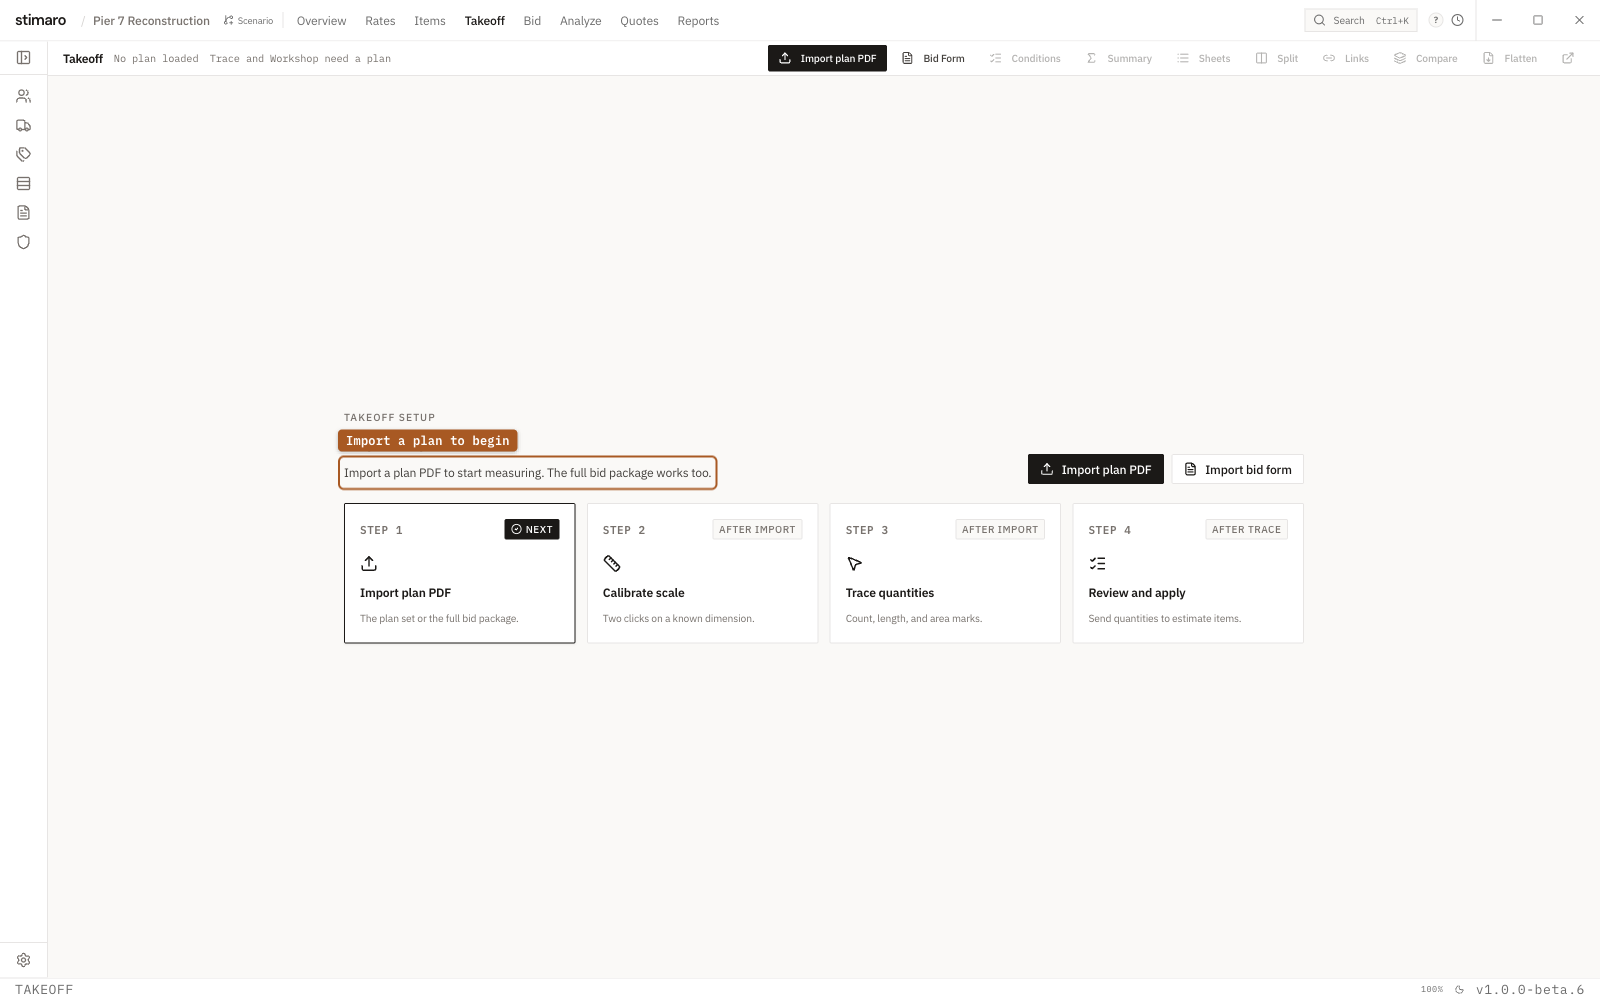
Takeoff tab. Import a plan PDF, calibrate the scale, trace quantities, and send them to your estimate items.What takeoff is
Takeoff is the process of reading your project drawings and measuring the quantities of work — linear feet of sheet pile, square feet of deck, number of anchor bolts. In Stimaro you import plan sheets as PDFs, calibrate the drawing scale, then mark up quantities directly on the plans with digital measuring tools. Those measured quantities link straight to your item sheets and bid rows, so the numbers you measure flow into the estimate without manual re-entry.
Opening Takeoff
Click Takeoff in the top bar (or press Ctrl+4). When no plan has been imported yet, you'll see a setup screen with import options.
Importing a plan PDF
- Click
Import plan PDFin the toolbar (or on the first-run screen). - Pick the plan PDF from the file dialog.
- Stimaro imports it and shows the first sheet, with a prompt to calibrate the scale before measuring.
If you have several plan PDFs, repeat for each — a dropdown in the toolbar switches between imported documents.
Importing an owner's bid form: If the owner provided a bid form as a PDF, click Bid Form in the toolbar. Stimaro reads the document and extracts item numbers, descriptions, and quantities, then presents them for you to review before applying them to your bid sheet. Always check the parsed rows against the original, since automatic extraction isn't perfect.
Calibrating the scale
Before measuring, you tell Stimaro how distances on the plan relate to real-world dimensions — this is scale calibration.
- In the viewer toolbar, click
Calibrate scale(the ruler icon). - Enter the known real-world distance and pick the unit (FT, IN, YD, or M).
- Drag along a dimension on the plan whose real length matches what you entered — a labeled reference line or a scale bar.
- Release. Stimaro calculates the scale and confirms it (for example, "1 in = 25 FT").
Calibration is stored per sheet, so if different sheets use different scales, calibrate each one.
Auto-detect scale bar: Enter the known distance first, then click Auto-detect scale bar to have Stimaro scan the sheet for a printed graphic scale and propose candidates to confirm. If none is found, calibrate manually by dragging.
Scale drift warning: If a sheet's printed scale label differs noticeably from your active calibration, a banner offers to update it — a safety check against miscalibrated sheets.
Placing measurement marks
Once the scale is set, use the drawing tools to place marks. There are five types:
| Tool | What it measures |
|---|---|
| Count mark | A single point — counts discrete items (piles, bollards, anchors). Each click places one. |
| Area rectangle | A rectangular area — drag to define it. |
| Area polygon | A freeform closed area — click vertices, then double-click or press Enter to close. |
| Length line | A straight line between two points. |
| Length polyline | A multi-segment path — click vertices, then double-click or Enter to finish. |
The Select tool (arrow) lets you click a placed mark to select it; the Pan tool (hand, Shift+V) lets you move around without placing marks. Useful viewer shortcuts: R / Shift+R rotate the sheet, Ctrl+= / Ctrl+− zoom, Ctrl+0 / Ctrl+9 fit width / fit page, Esc returns to Select.
Ctrl+8 means "Actual size (100%)" — it does not jump to Reports the way it does elsewhere. Use Ctrl+K (Command Palette) to reach Reports while you're working in Takeoff.The toolbar header shows a running count of the marks placed on the active plan.
The mark inspector
Selecting a mark opens an inspector where you describe it before linking it to the estimate: a Description, a Category, a Unit, an optional Factor (leave at 1 for a straight measurement), and a Status. The inspector also shows which calibration is applied and the computed length or area.
Linking marks to the estimate
After describing a mark, use the Apply to estimate section:
- New item — creates a new item sheet with the mark's quantity as the takeoff quantity. Enter an item number and description, then click
Create & apply. - Existing item — applies the quantity to an item you've already built. Pick it from the dropdown and click
Apply now.
Either way, the measured quantity is linked to the item (and to a bid row where applicable), and the mark's status updates to show it's linked.
Batch applying: to handle several marks at once, click Add to batch instead of applying immediately, then click Apply in the toolbar to process the whole batch in one step.
Two-monitor setup: the Workshop window
For large plans or detailed mark management, click Open Workshop window in the toolbar (the external-link icon). This opens a linked, dense management view — marks list, full inspector, layers, and calibration manager — designed for a second monitor. Selecting a mark in one window pans and zooms the other to match, and both stay in sync. The Workshop window requires a plan to be imported first.