Building Crews
You end up adding the same labor and equipment together over and over — the same operator and machine on every item of a kind. A crew saves that group once so you can drop the whole set onto an item in one step instead of picking each resource by hand.
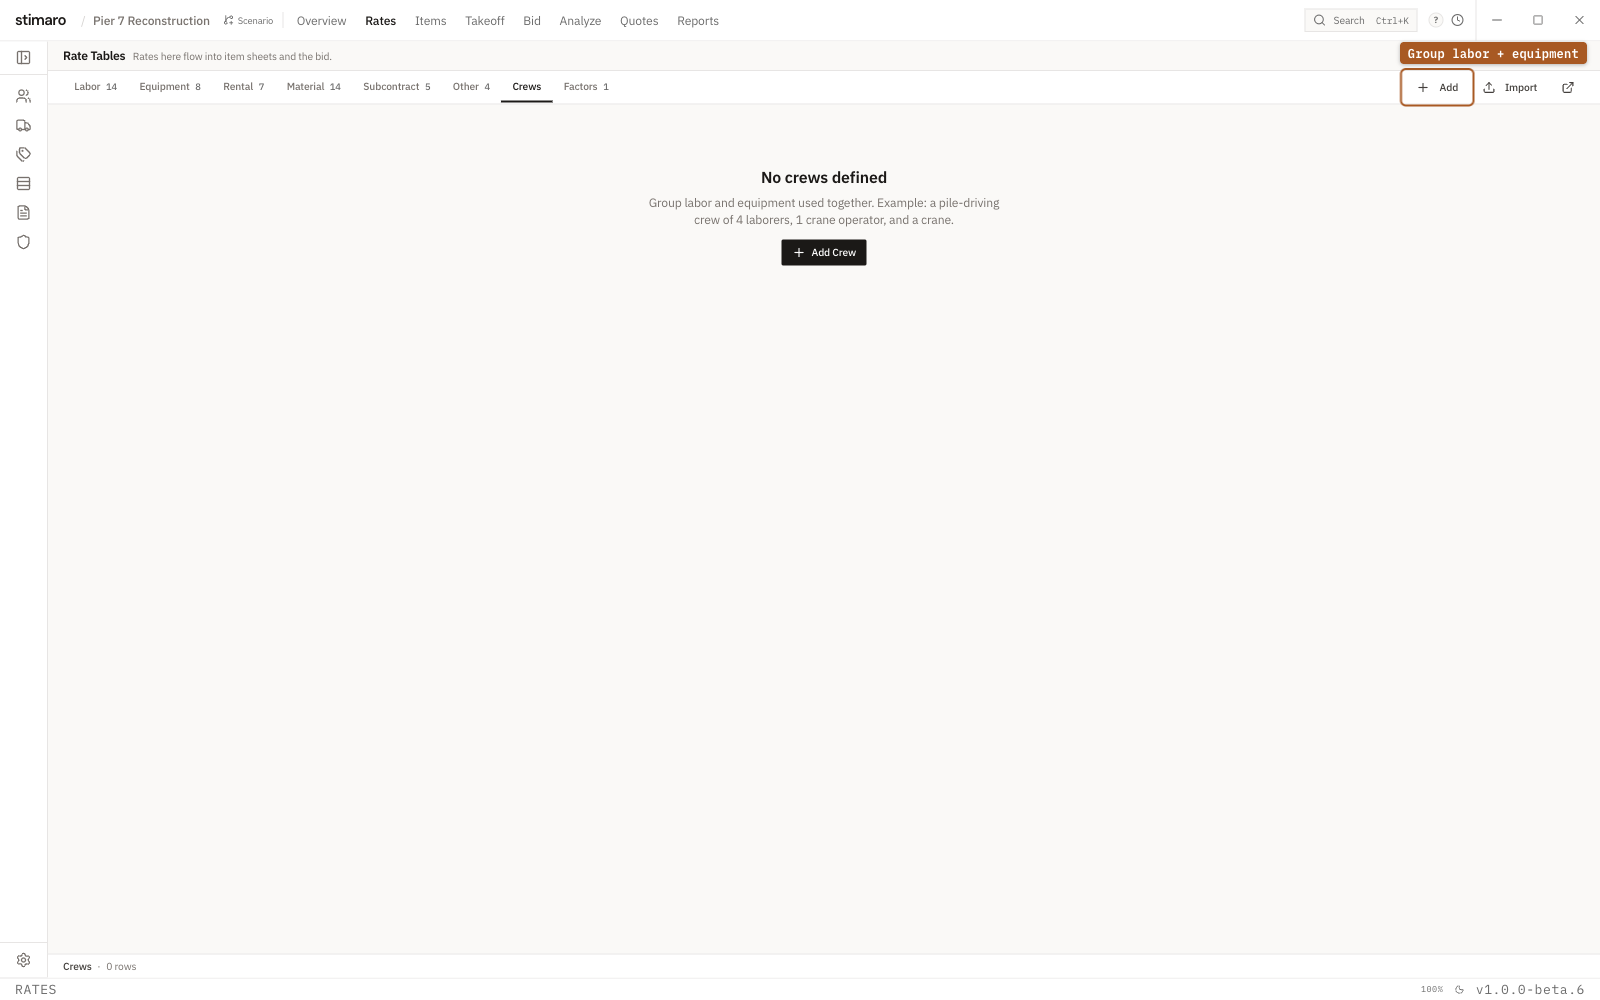
Crews tab. Group the labor and equipment that always work together, then add the whole crew to an item in one step.What a crew is
A crew groups the labor and equipment that always work together, so you can pull them onto an item as a set. A pile-driving crew, for example, might be 4 laborers, 1 crane operator, and a crane. Once that's saved as a crew, you don't have to remember and re-add each piece every time you drive pile — you add the crew, and every member comes with it.
Crews live on the Rates tab, under the Crews sub-tab, alongside your labor and equipment rates. A crew doesn't hold its own prices — its members point back to your existing rates, so when you change a labor or equipment rate, every crew that uses it recalculates too.
Creating a crew
On the Crews sub-tab, click Add. A new crew is created with a generated code (CRW01, CRW02, and so on) and the description "New Crew." The left rail lists every crew with its code, description, and per-day total (<total>/day); the right pane shows the detail of whichever crew is selected.
Naming the crew
Click the crew header (it reads "Click to edit") to set the code and description. The code can be up to 9 characters and is upper-cased for you. Click Save to keep the change, or Cancel to discard it.
Adding members
Click Add Member to open the resource picker. It's organized into tabs — Labor, Equipment, Rental, Material, Subcontract, and Other — and each tab is filterable, so you can type to narrow the list. Click a resource to add it to the crew at a quantity of 1. Members already on the crew are disabled in the picker, so you can't add the same resource twice.
Each member appears as a row in the crew's components table, with these columns:
| Column | What it means |
|---|---|
Cat | The resource category — Labor, Equipment, and so on. |
Code | The rate's code, as it appears in your rates. |
Description | The rate's description. |
Qty | How many of this resource the crew includes. Editable, and must be at least 1 — for example, 4 for a four-laborer crew. |
Rate | The per-day cost pulled from that resource's rate. |
Total | The member's contribution: rate multiplied by quantity. |
The crew's per-day total is the sum of every member's rate times its quantity. Adjust a member's Qty and the crew total updates with it.
Adding a crew to an item
Once a crew exists, you can drop it onto an item without picking each resource by hand. On the Item Sheet, click Add Crew (its tooltip reads "Add a crew's resources to this item"). This opens the "Add crew to item" dialog:
- Choose a crew from the
Crewdropdown. Each option shows the crew's code, description, and member count — for example,CRW01 · Pile Driving (6 members). - Set the
Crew quantity(default 1) — how many of this crew the item needs. - Click
Add crew.
This inserts one resource row per crew member, each at a quantity of the member's quantity times the crew quantity. So a crew with 4 laborers added at a crew quantity of 2 lands 8 laborers on the item. From there, each row behaves like any other resource on the item — you can adjust it individually.
Add crew to item dialog tells you to create one first in Rates → Crews.